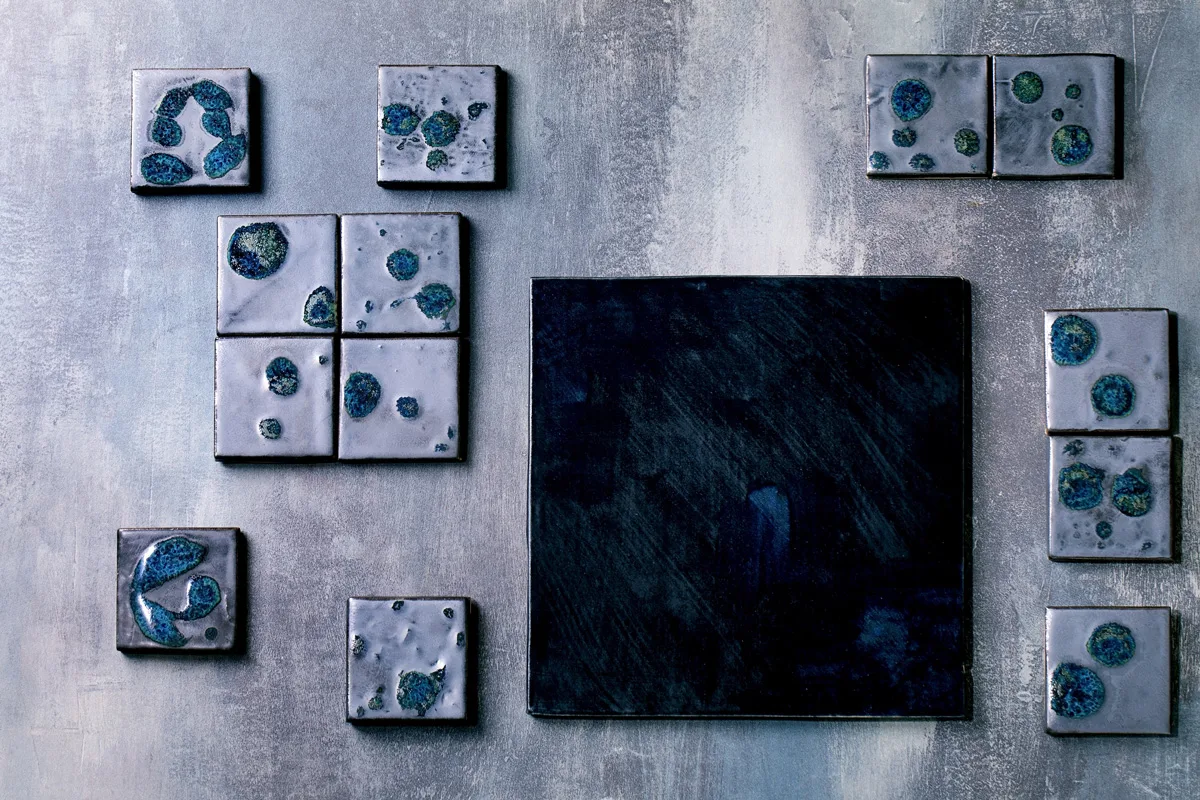
Painting Ceramic Tiles
Tile Paint – Achieve a Fresh and Shiny Look
Refresh your kitchen or bathroom tiles with the transformative power of tile paint. This cost-effective solution provides a simple yet effective way to achieve a brand-new and shiny look. If your bathroom tiles have seen better days and you want to embark on a weekend project to breathe life into your space, painting your tiles can be a simple yet effective option. Say goodbye to outdated color schemes and hello to a vibrant new atmosphere in your home.
Helpful Tips for Painting Tiles
Did you know that you can give your tiles a fresh makeover through the power of paint? Whether you have porcelain, ceramic, or glass tiles, this DIY project is straightforward and rewarding. All you’ll need is the proper type of tile paint, with the necessary tools and equipment. To achieve excellent results, choose a high-quality paint designed explicitly for tiles. Carefully follow the manufacturer’s instructions for best outcomes.
It’s important to note that the range of available tile paints might be somewhat limited. If you have a particular shade in mind, consider applying a top-notch solvent-based primer to the tiles before applying a high or semi-gloss paint for the final touch.
Proper surface preparation is essential to lay a solid foundation for your project. Begin by thoroughly cleaning any grease and food stains from the tiles with suitable cleaning agents. Once the tiles are spotless, apply the appropriate primer and allow it to dry completely. Lightly sand the surface to ensure optimal paint adhesion. Before starting the final coat, ensure the surface is free from dust particles.
As you embark on the painting process, examine a few tips. Submerge only the brush tip when dipping it into the tile paint. This prevents overwhelming the brush and provides better control over the application. Wipe off any excess paint to avoid drips or smudges. Alternatively, you may consider using a sponge instead of a brush. This helps regulate the paint amount used and enables quicker coverage of larger areas. It’s recommended to practice on spare tiles or cardboard before moving on to your actual tiles. Don’t be discouraged if it takes a few attempts to achieve the desired result. Ensure you have a good understanding of the process before tackling your project. Start with less noticeable tiles and gradually progress to more prominent ones.
Finally, let the paint dry for 24 hours minimum, or follow the manufacturer’s recommended drying time. This waiting period ensures the paint sets rightly, resulting in a durable and visually appealing finish.
Types of Tile Paint
Here are the main types of tile paints that should help you choose the most suitable one for your project.
- One-part epoxy paint: One-part epoxies are user-friendly as they don’t require multiple layers. These products naturally cure, while multi-step epoxies undergo a chemical curing process. Some one-component epoxies are available in spray form.
- Two-part epoxy paint: You can brush or roll the resulting mixture onto the tiles by combining two components. Two-component epoxies are typically more accessible, offering a broader selection of products.
- Two-stage paint: This variety of tile paint requires two distinct steps. First, apply a bonding agent and then applicate the final coat. Two-step tile paint ensures durability and long-lasting results.
If you’re also interested in learning about ceramic tiles – this article is your perfect match.


